)
)Step 1 : Download the CabMaster Transfer Utility executable file from here.
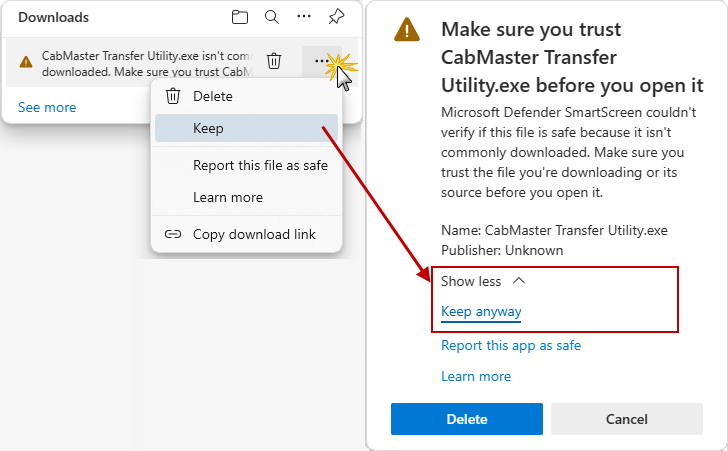
What to do if you get a Download warning !
If you get this message, click on the three dots (as shown) and select Keep.
Another message will be presented to confirm - click on Show More and Keep Anyway.
Step 2 : Run the CabMaster Transfer executable on the computer you want to transfer from.
What to do if you get a 'Windows protected your PC' Message !
If you get a popup as shown below:
Click on More info and then press Run anyway

.png)
.png)
Step 3 : Plug in a USB/External Drive to transfer your CabMaster Software™ product to.
You may want to copy the 'CabMaster Transfer Utility.exe' file to the USB/External Drive, as it will be required to transfer files to your other computer.
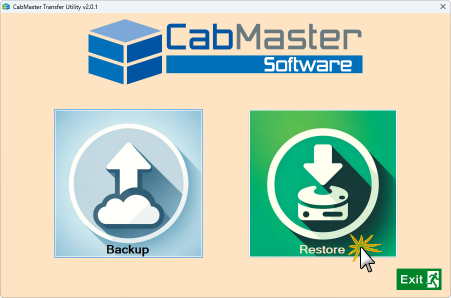
Step 4 : This will provide the following window - simply click on the Backup button...
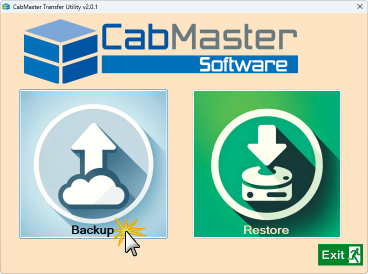
Click to Expand
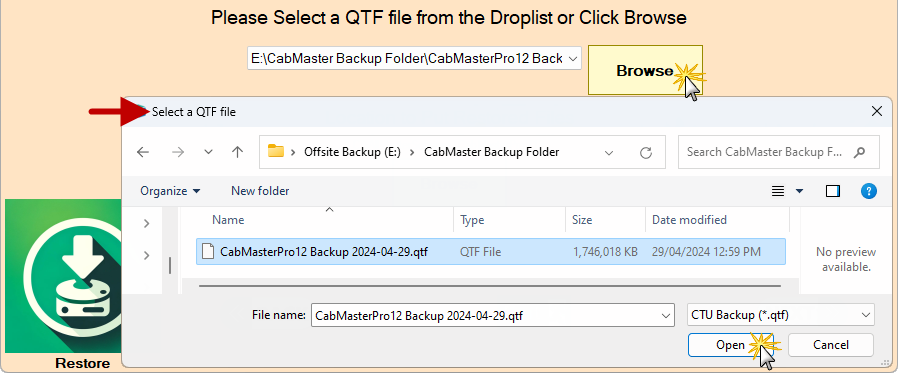
Step 5 : The following window will be presented to allow you to...
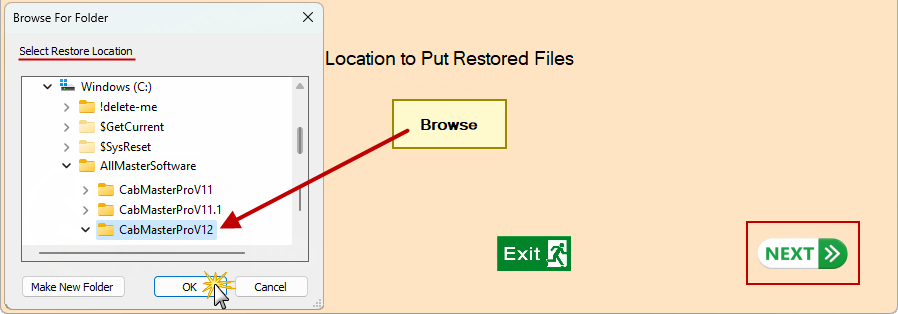
- Select location to save your backup to...
- a USB drive from the drop list (if you are running on a USB)
- or Browse to a Path - select drive and folder you want to use and press 'OK' (click on image below)
- Select your CabMaster Software product to backup using the drop down (shown below)
- the list will include all products currently installed on your computer, including EzyNest.
- Press NEXT
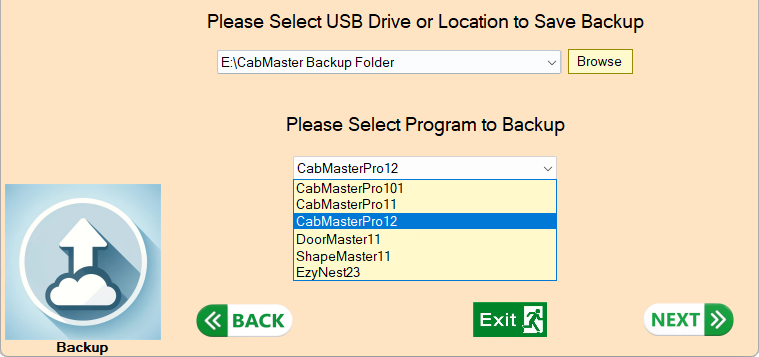
Select location and program to backup- Click to view Browse example
CabMaster Installs begin with the word CabMaster. The number after the CabMaster is the version without dots e.g CabMasterPro101 Is version 10.1 and CabMasterPro11 is version 11 and so on.
Step 6 : Select directories you want to transfer by ticking the applicable checkboxes and click on the BEGIN button.
If the checkbox next to a directory is off when you first enter, the directory does not exist!
Optional: If a directory is not pointing at the correct location press the Change button to re-target it to the correct path (Click on image for an example).
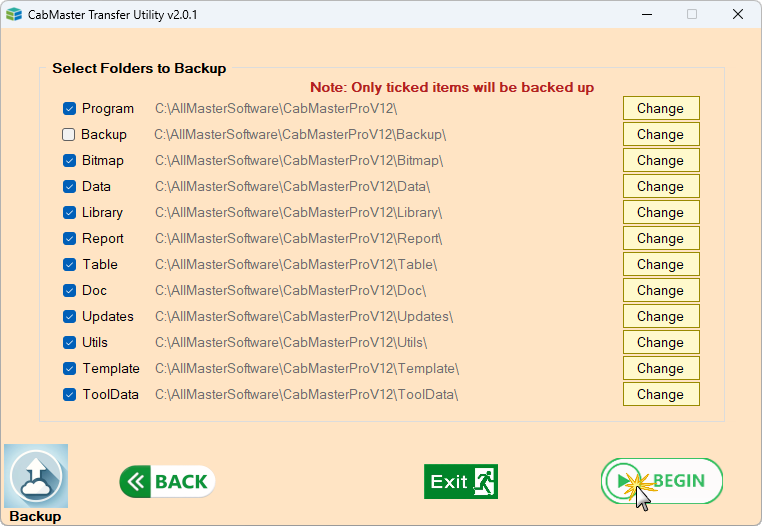
Click to view an example of the optional Change location
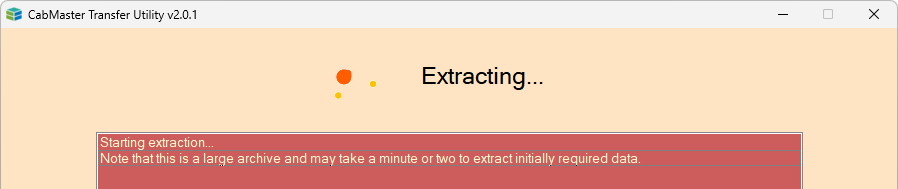
Step 7 : The initial copying and compressing of your files will begin, wait for it to complete.
Each directory will show its status (click on image):

Click to Expand
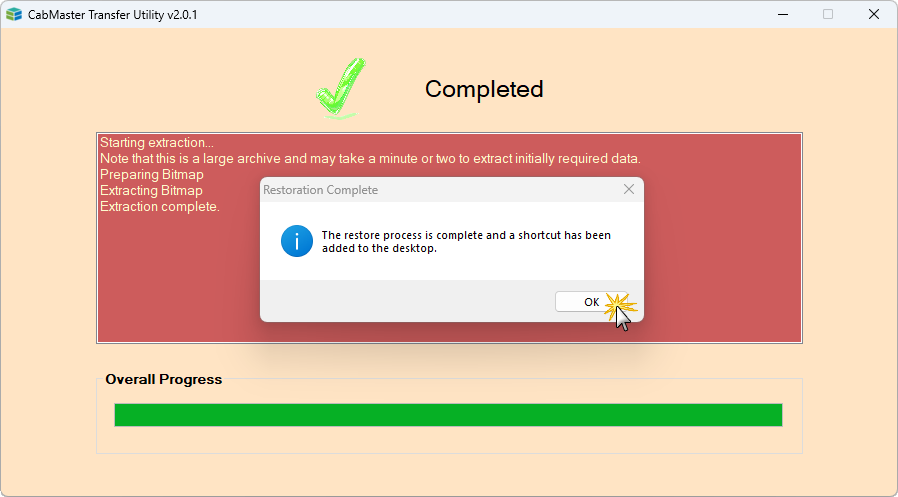
When the processes has completed you will see the following message. Click OK and the transfer utility will close.
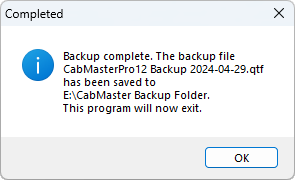
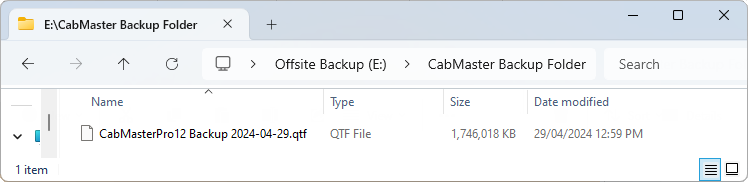
A transfer file (QTF) will have been generated in the specified directory.