In This Topic
The Verticals import adds a front, back , left and right to the area, these can each be turned on and off and adjusted in height.
These universal settings for Verticals are also used for four wall cabinets i.e. Mitre Shelf, Lighting Valance, Overhead Underpanel and Wide Gable.
See the topic on the Wall Mitre Shelf which includes A Minute with Mike video 
Area Content
In each Area of a Universal cabinet you can put different Content, in this example Verticals. Click on image.
See also CabinetCutout.

An Area with Verticals - Click to view Area Content settings
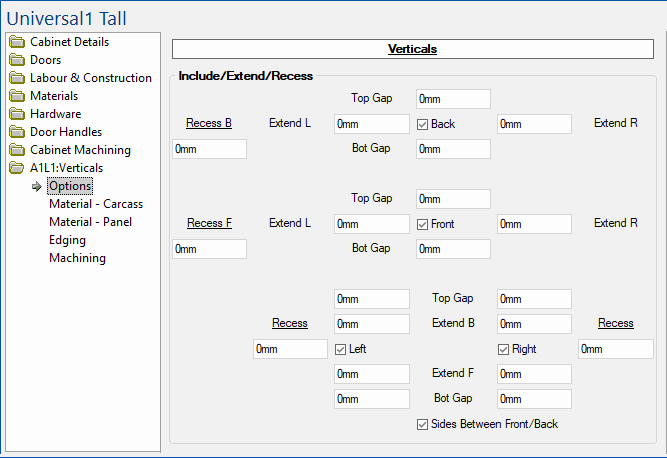
Verticals button
The button named Verticals allows you to access the Local Properties of the currently viewed item, which can be amended.
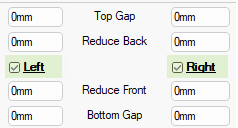
Enabling and Disabling Parts
The checkboxes (highlighted in green below) allow for parts in the verticals to be turned on and off.
Back and Front parts in the verticals can be turned on and off.

Sides: Parts in the verticals can be turned on and off Left / Right sides.
Gap edit boxes
Top : Reduces the height of the part by the given distance, any reduction of height is from the top of the part.
Bottom : Reduces the height of the part by the given distance, any reduction of height is from the bottom of the part.
Top and Bottom Verticals
Options to size and position to Front and Back (highlighted in green below) allowing a second top/bottom opposite to the first (emulating front/back rails). Each of these can then be individually sized - see also Labour & Construction > Top/Bottom page.

Top : Placing the top (rail) to the Front or Back allows a second Top (rail) to be added on the opposite side i.e if the first is placed at the front, then the second would be at the back.
Bottom : The same options available for the Bottom of the verticals, allowing there to be two rail like parts instead of a single bottom.
Reduce edit boxes
Left : Reduces the width of the part by the given distance, any reduction of width is from the left of the part.
Right : Reduces the width of the part by the given distance, any reduction of width is from the right of the part.
Front : Reduces the width of the part by the given distance, any reduction of width is from the front of the part.
Back : Reduces the width of the part by the given distance, any reduction of width is from the back of the part.
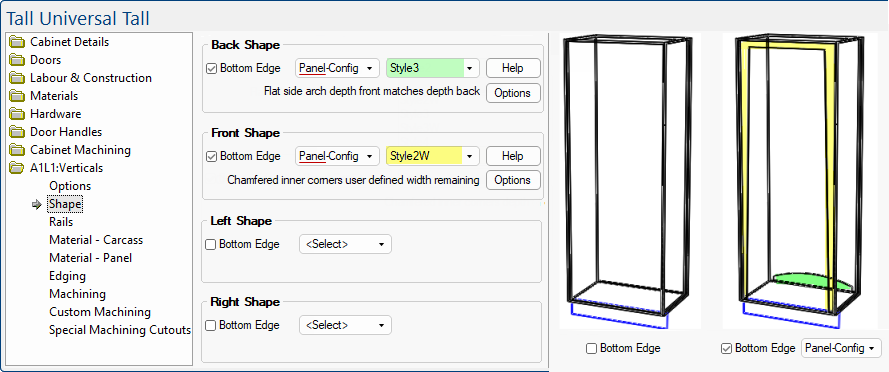
Allowing the side parts of the verticals to be shaped along their bottom edge.
Profile allows you to set the shape of the 'Panel' for the Back, Front, Left and Right of the universal cabinet.
The example here is coloured to indicate the effect of the Shape Style options selected compare to the Use Bottom Edge turned off.
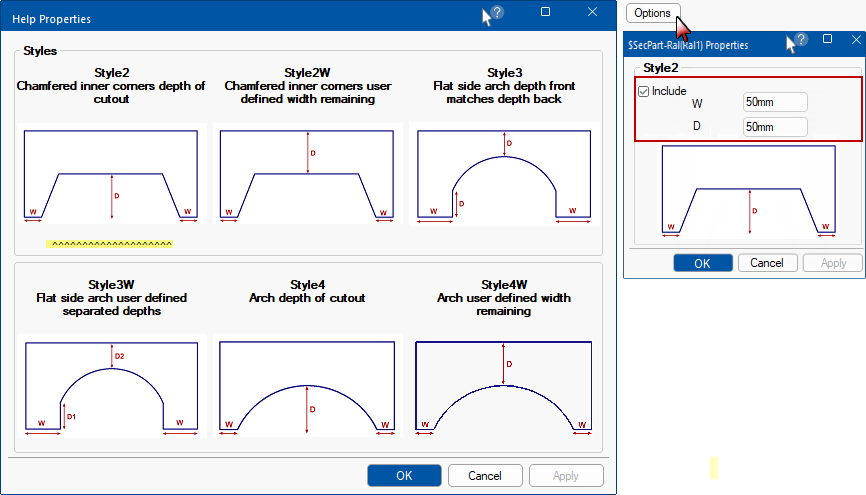
Styles and Help/Options button
The Help button opens the page, as shown below left.
- The
 underneath a Style indicates that this is the style in use.
The Options button opens the page, as shown below right.
- This allows you to customise the Width and Depth as indicated by the image of the selected cutout.
- The description of the selected style will be displayed before the 'Options' button on the shape page.
Material - Carcass page
defaults set on the Materials-Advanced > Carcass page can be overridden.
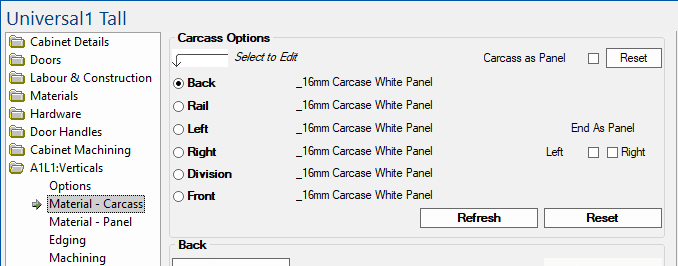
Area Verticals > Material - Carcass page - Click to Expand
Material - Panel page
defaults set on the Materials-Advanced > Panel page can be overridden.
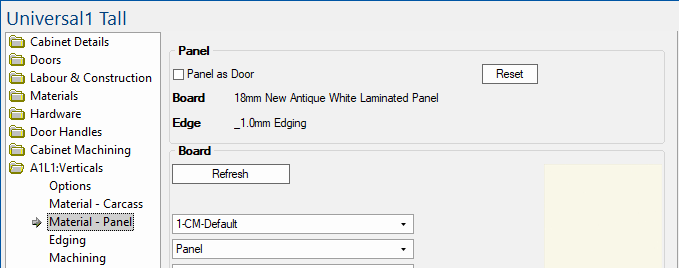
Area Verticals > Material - Panel page - Click to Expand
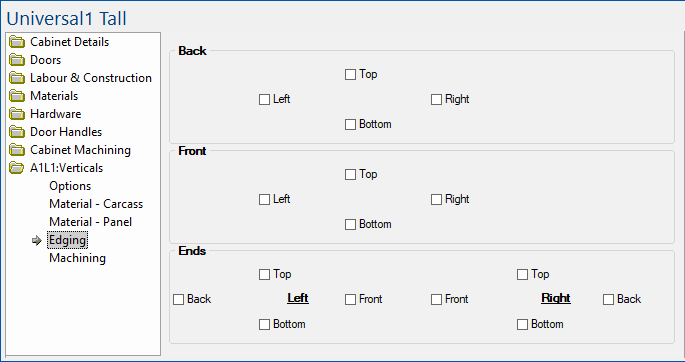
Edging page
Each part in the verticals can have edging applied. Simply enable the applicable checkboxes.
Machining page
Each part in the vertical can be machined as a rail or as the part it is. This allows parts to use the hole spacing and other information set for rails.
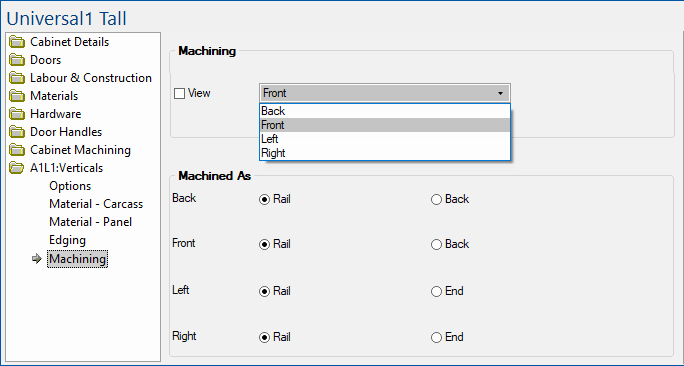
Example: If you wish to use the front as a replacement for a front rail, you can set it to machine as rail. It will then use the hole quantity and spacing specified in or the cabinet for it's machining.
See Also
Universal Cabinets
Cabinet Machining