CM-Cabinets Library User Guide
The Hettich WingLine system is currently a custom table and this topic explains how to setup the tables required.
These tables were created and tested for Floor Standard, Wall Standard and Tall Standard cabinets only. If used on other cabinets, these may or may not work - contact our CabMaster Support Team if you require assistance.
The required Custom Machining tables must be....
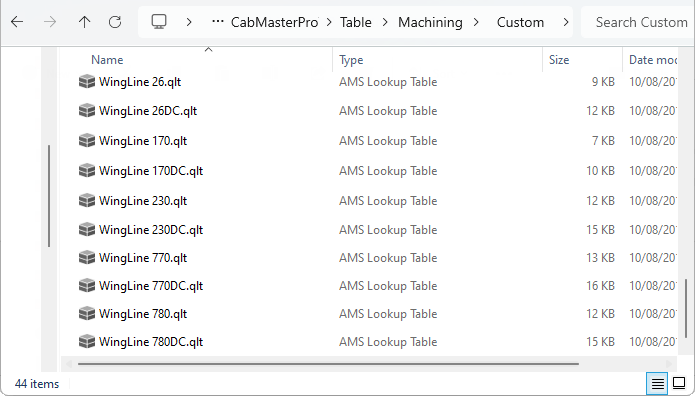
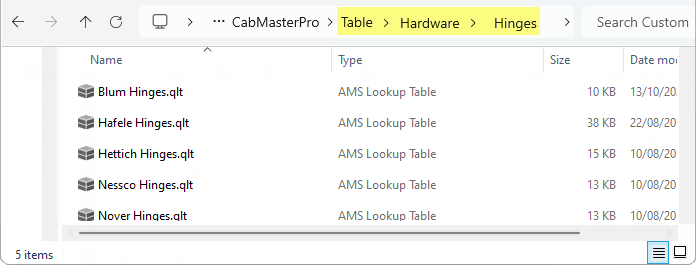
WingLine tables in the Custom folder - Brand hardware tables are used in this example.
and
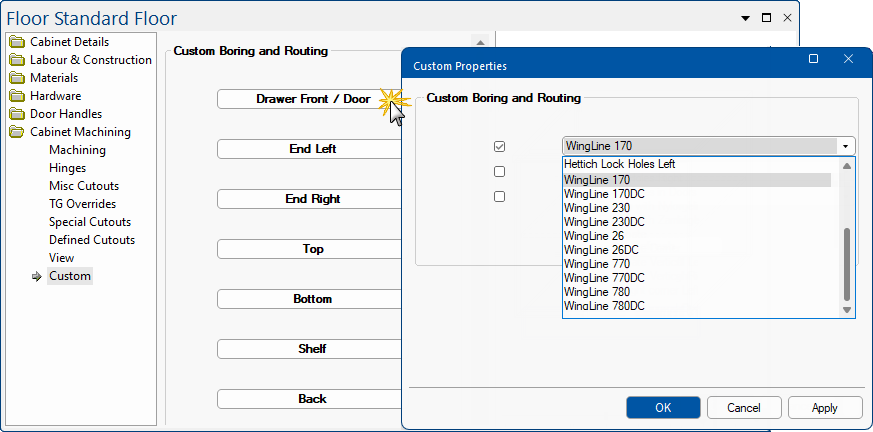
Example of Cabinet Machining > Custom page
Click on the Drawer Front / Door button which will open the Properties for Custom Boring and Routing, as shown.
Select the required WingLine from the drop list and click OK.
Put the Wing Line Hinge’s and Plates into your current hardware table, dependant on if you are using...
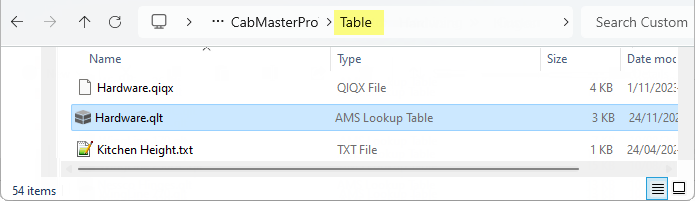
the default Hardware table
The default hinges are located in <your CabMaster folder>/Table folder called Hardware.qlt
or
a brand hardware table i.e. Blum Hinges or Hettich Hinges
Brand hardware tables are located in <your CabMaster folder>/Table/Hardware/Hinges folder.
You might need to check the customer’s current hinge set configurations to see which table they are using to obtain the hinge data from.
Using default Hinges table
See Hardware > Hinge Set page of the Catalog/Drawing Properties.

Once you know which table is being looked at to find the hinges, you will need to make sure they have the Wingline Hinges available to that table as per screen shot:
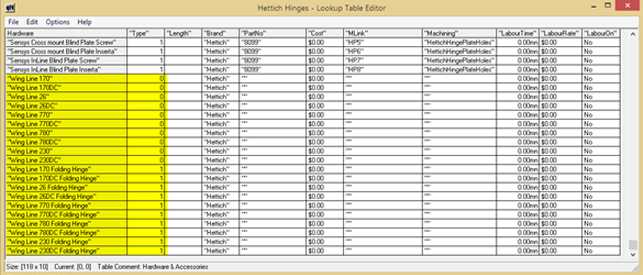
Click to view expanded example
All these rows need to be inserted to the existing table.
This hinge does not turn on like a real hinge, they actually turn on because of the custom machining table.
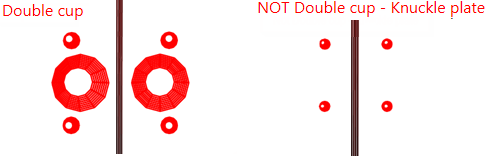
You MUST match the hinge name, in your hinge set, with the Custom machining table you want to use - DC stands for Double cup.