CM-Cabinets Library User Guide
The My Setup > Configure My Extensions page allows you to have multiple 'Plugin' tables.
A Plugin is an external control that integrates with the CabMasterPro interface, with which the user can interact with, and can be run from the My Extensions > Plug-Ins page at drawing and cabinet level.
These are usually extras that are set up by our CabMaster Support Team to meet customer requirements and are normally links to an extra properties page for specific export or reporting. The setup of some tables may require assistance from our CabMaster Support Team, especially if the required functionality is not available from the Table drop list, as discussed in this topic.
 Watch the Video to see how easy it is!
 To enable a plugin inside CabMasterPro, you need to...
Once you’ve enabled a plugin, you can then access the control on the My Extensions > Plug-Ins page of the Drawing Properties or the Local Properties of the cabinet.
A Minute With Mike : Automatic Ordering from CabMaster to Lincoln Sentry [1:36 min]
This video discusses how to enable Lincoln Sentry (which applies to all plugins) and use Lincoln Sentry for ordering from supplier and running reports.
Lincoln Sentry command on Home tab makes it easy to create an online order!
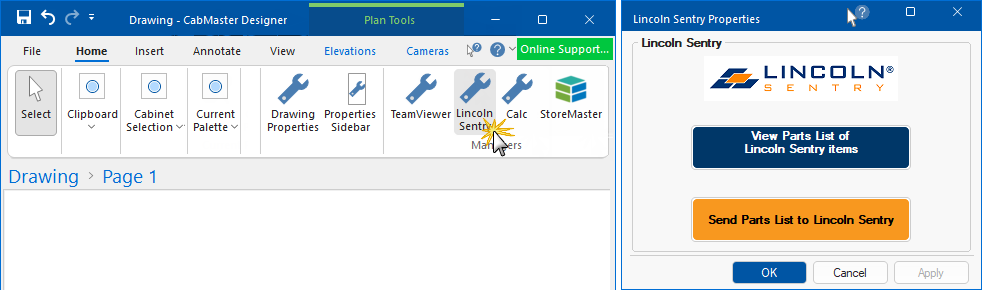
With the latest version of CabMasterPro, if the command button is available on the Home tab, then there is no need to enable the PlugIn.
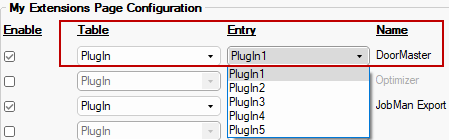
This check box simply turns On/Off the availability of the configured option to appear on the My Extensions > Plug-Ins page at both Drawing and Cabinet level.
The Use column at the plugin table level can still have the formula driven option to have it on either or both Drawing and Cabinet level. This option works together with the Enable checkbox to achieve the required result.
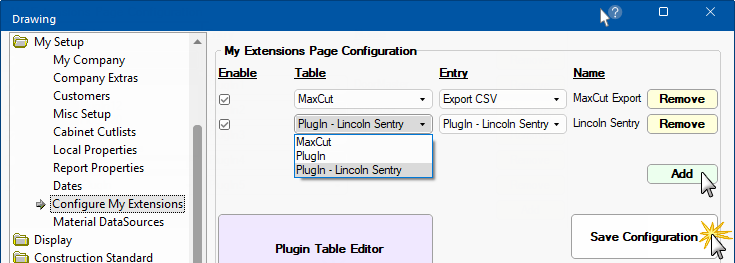
The drop lists allows you to select the required Table and, as a table can reference multiple plugins, the applicable Entry (see table Rows discussed below).
PlugIn tables are located in the …\Table\Plugins\System subfolder.
The Name is used on the created button on the My Extensions > Plug-Ins page.
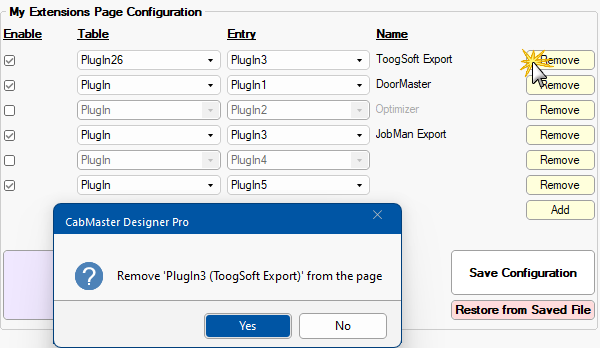
This button can be used to remove a table referenced on the Configuration page.
This does not permanently delete the table from the CabMaster folder, just this page.Remove from page message
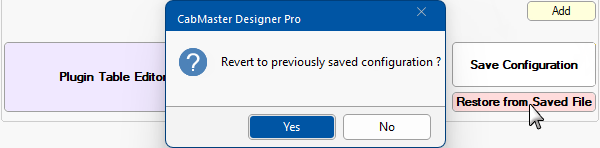
If you remove this table reference but change your mind before you saved this new configuration, simply click the Restore from Saved File button.
This button can be used to add a table. You will need to tick the Enable check box before you can make a selection from the drop list.
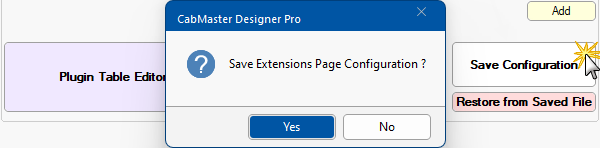
When you have made ANY changes to this page, ensure that you click the Save Configuration button.
It stores it as an external file for next time, allowing you to use the Restore from Saved File button.
Click to Expand
Use the Restore button if want to revert to a previously saved configuration.
For example, you may have used the 'Remove' button but instead of adding it again, simply 'Restore'.
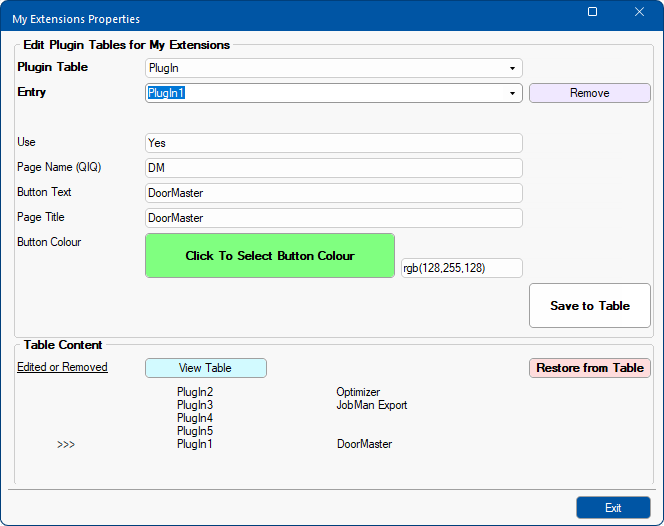
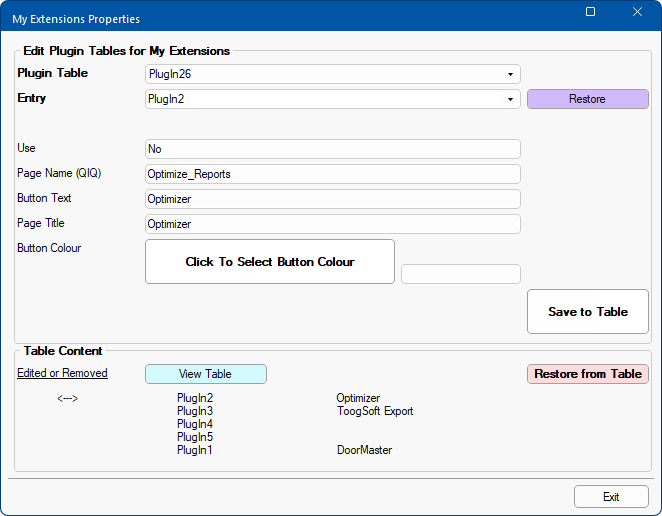
Clicking on this button will open a properties window, as shown, which allows you to select the Plugin Table/Entry using drop lists.
Details from the selected table/entry will be displayed, as discussed below. If changes are made, use the Save to Table button.
Add Row
If you type in a value on the Entry edit box that does not exist and then add details to it - a new row is added to the table on saving.
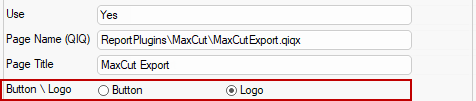
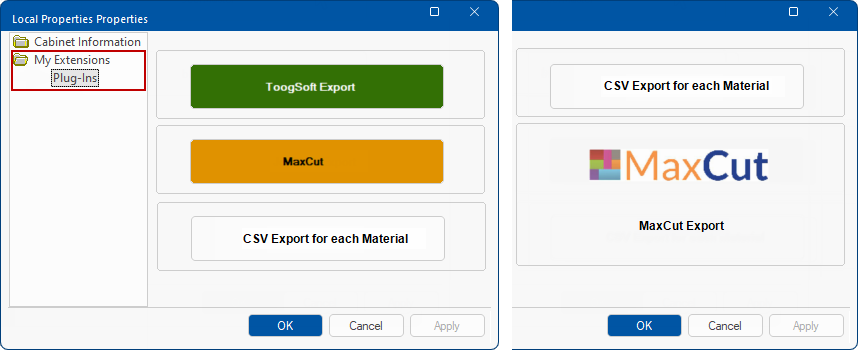
When configuring My Extensions of the Catalog/Drawing Properties, there is Button and a Logo option with the ability to select the logo image file (click on image to view).
Click to Expand
The following shows the 'MaxCut' PlugIn displayed as a button or a logo.
Clicking on the View Table button will open the selected Plugin Table, as discussed below.
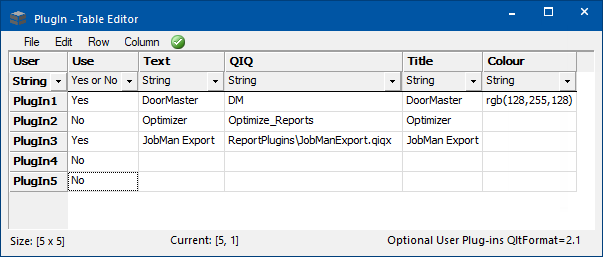
The ">>>" or "<-->" show whether an Entry has been Edited or Removed from the original. In the above example, the colour of the DoorMaster button was changed to green and therefore displays ">>>".
After making changes to the table, click on Save to Table to save changes to the table.
Use this if you have made changes to the table but you have NOT 'Saved to Table'.
The restore will only do anything if there are unsaved changes to restore over.
Example of Remove
In this example, the PlugIn2 entry has been removed from the table and therefore displays "<-->"
To setup, a CabMasterPro plugin must be located inside the folder where you have CabMasterPro installed.
The control table is located in <your CabMaster folder>\Table\Plugins\ folder (click on image).
Located in <your CabMaster folder>\Table\Plugins\PlugIn.qlt - Click to Expand
This is the Entry selection available to the system.
In this example, the Table is 'PlugIn.qlt' and the Entry references the row (compare to table above).
Previous to v12.003 the My Extensions > Plug-Ins page was controlled from a single PlugIn table (PlugIn.qlt shown).
The 'Use' column in the plugins table can be configured for the option to appear on either or both pages.
For example, to restrict the entry to appear at...
- Cabinet level, the formula would be ":(VarIfExistElse('PlugInContext', 'D')='C' ? 'Yes' : 'No')"
- Drawing level, the formula would be ":(VarIfExistElse('PlugInContext', 'D')<>'C' ? 'Yes' : 'No')"
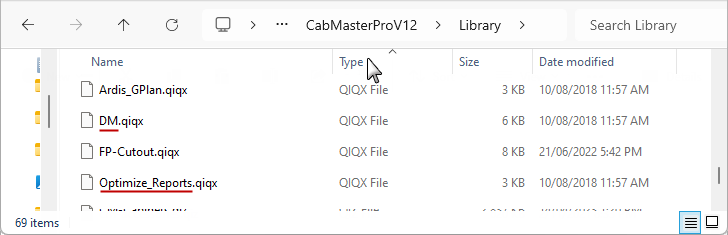
The QIQ column refers to the location of a CabMaster pop up page (qiqx file), which is run when the button on My Extensions > Plug-Ins page is clicked. This file is located relative to <your CabMaster folder>\Library\ folder.
Example
The QIQX files used in above table for DoorMaster and Optimize_Reports are located in the Library folder.
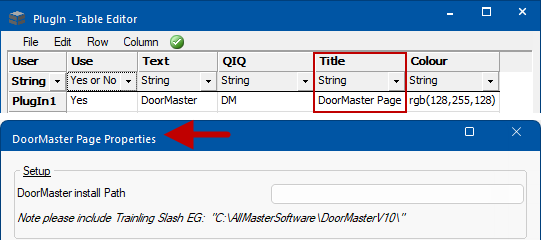
The Text column is the description on the Button accessed from the My Extensions > Plug-Ins page.
The Title column is the description on the Properties Page window.
Title Example
When you open the Properties from the Plug-Ins page, the property sheet is opened and the Title confirms the PlugIn opened.
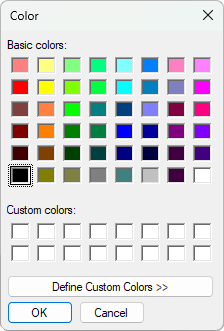
A colour can be applied to the buttons for ease of navigation.
When you use the Table Editor and click on the Colour Selector button, the following will be presented. The rgb value will be automatically entered.