
In this topic, we create a cabinet with drawers that are recessed and allow doors to be added to create a robe.
It is recommended to remove the doors to provided a clearer view for designing purposes.
Do this by unticking the Include option on the Doors > Div Door page.
On the Cabinet Details > Area 1 page...
- add a horizontal Divider; and
- untick the Even check box to allow you to enter an Offset dimension.
Then set the Content of section Left Lower to Drawers from drop list.
- As shown, 3 drawers have been added into the designated space without drawer fronts.
- Note that an extra Drawers category is made available.
- The drawer quantity can be changed on the Drawers > Options page - click on image to view.
On the Drawers > Fronts page, enable Include & Height which turns on the drawer fronts, as shown in the preview pane.
- Here you can alter the height of drawer fronts and/or turn them off/on at an individual level (click on image for an example).
- The Assumed Thickness of the carcass can be also be edited.
Since we want to have the drawers inside a wardrobe, we will Remove Handles and change the Gaps to the dimensions shown above. However, as you can see in the preview, the drawers are still sticking out.
The handles can also be removed on the Door Handles > Positioning page or on the A1L1:Drawers > Handles page.
On the Cabinet Details > Area 1 page, set the Recess Front for the drawers to 18mm. Now the drawers are flush with the cabinet, creating internal drawers.
Now we want to place these behind doors.
On the A1L1:Drawers > Options page enable the Spacer Rails Left and Right.
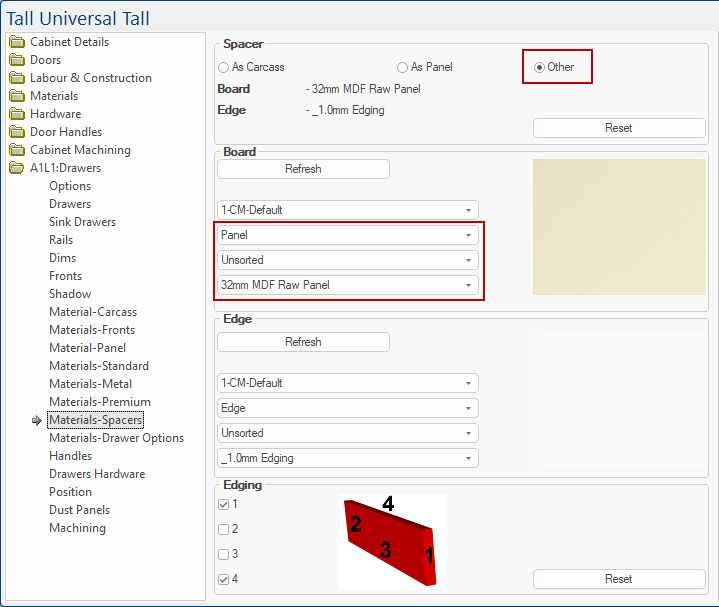
On the Materials-Spacers page you can change the material.
Here we have changed the radio buttons to Other and selected Panel, Unsorted, 32mm MDF Raw Panel for the Spacer.

If you want to add a cleat, then on the A1L1:Drawers > Options page you would...
- turn off the Spacer Rails Left and Right.
- turn on Fillers.
These are only internal and are by default set to Both sides, at the default Width. (Click on image below to view)In this example, we have turned on the Fillers and set the Left at a Width of 60mm, which moves everything across.
- Then cover the space with a Mullion by ticking the Back and Front check boxes.
You would make a clearance for the hinges by, for example, adding an Additional Mullion Recess to 100mm.
Then you would change the drawer gap on the left hand side to cover it.
Here we have opened the drawers for a better view.

Now all you need to do is add doors as required. Here we have added a single door.
This concludes this tutorial.