CM-Cabinets Library User Guide
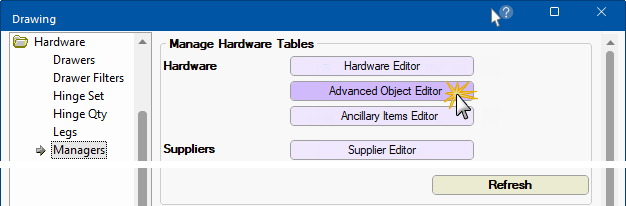
The Hardware > Managers page provides the ability to add and maintain advanced objects.
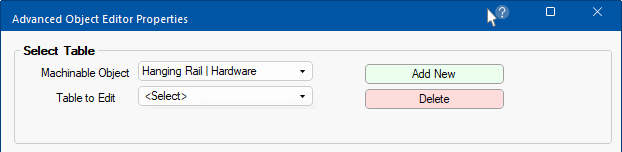
Use the Advanced Object Editor button to launch Advanced Object Editor dialog which initially allows...
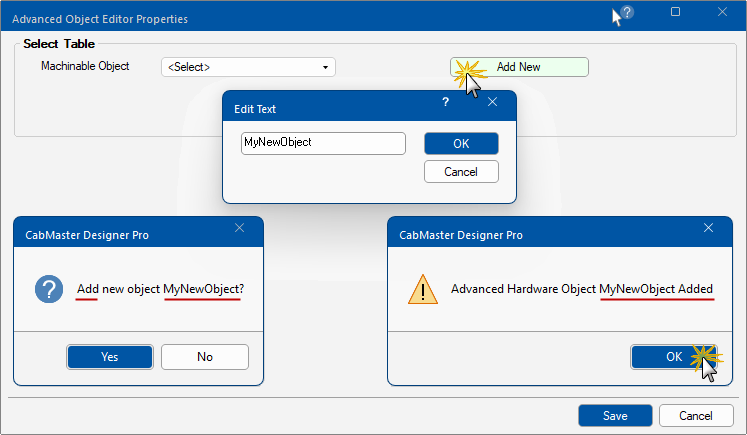
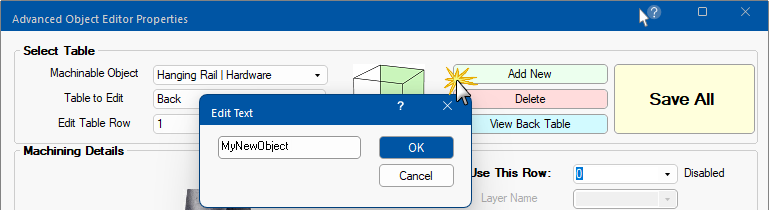
To add a new object, simply click on the Add New button, as shown, and type in a descriptive name for the new object.
You will be asked to confirm the addition. If the answer is Yes, then a message will be presented to confirm your action.
The added object will be added to the Machinable Object drop list.
See the next discussion on deleting an existing object where we will delete this newly added object, named here as 'MyNewObject'.
In the following example, the Add New button is pressed. An Edit Text box will allow you to type in the name of the item you want to added.
If a name of the item is successfully entered, it will...
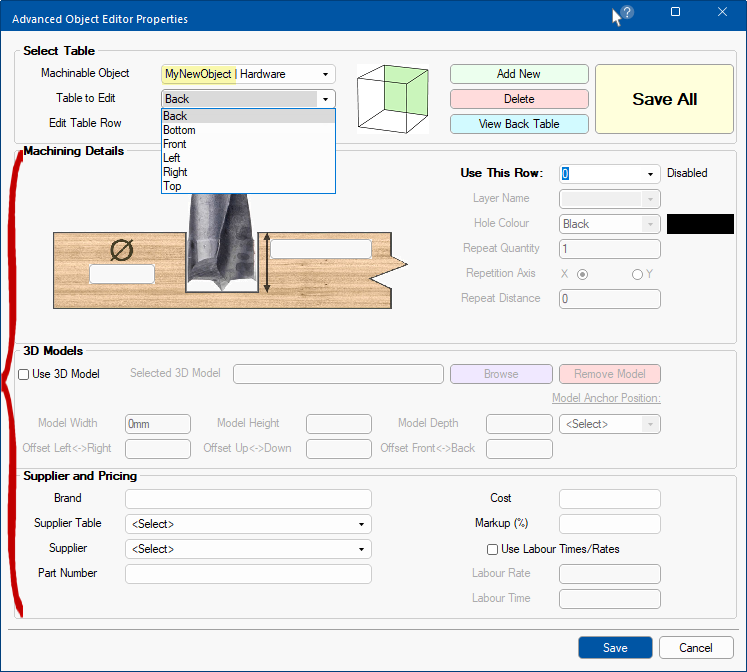
It will then let you to select the new item in the Machinable Object drop list and do the same process as above to show all the machining details and the model for the new item.
The Save All button saves all changes on this screen to the tables.
You can add a new object in the same way, even after you a Machinable Object has been selected.
Now complete the necessary details pertaining to your newly created object...
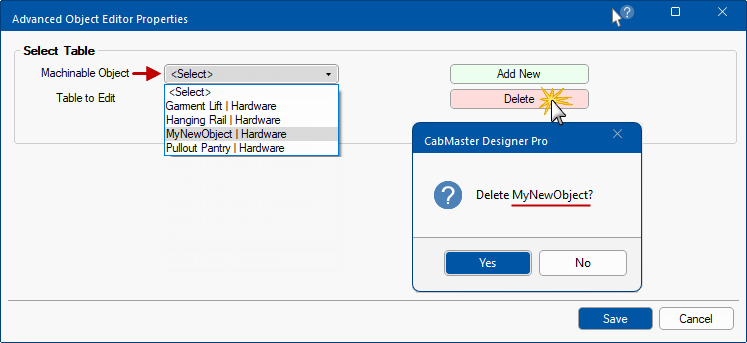
To delete an existing object, select the Machinable Object from the drop list, in this example 'MyNewObject'. Then click on the Delete button, as shown.
You will be asked to confirm the deletion. If the answer is Yes, then the object will also be removed from the $$drop list$ selection.
When you use the Delete button to delete an existing object, it...
The View [face] Table button just shows the table to the user in Table to Edit. And the Save All button saves all changes on this screen to the tables.