CM-Cabinets Library User Guide
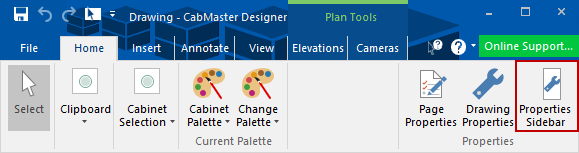
A Quick Access Properties Sidebar command button, located on the Home tab, can be used to enable a Drawing Sidebar e.g. with a Job Checklist, and/or a Cabinet SideBar enabled for cabinets, and other items, allowing you make minor modifications to a cabinets' dimensions etc on the plan without opening the cabinet properties. The sidebar can be positioned anywhere on your CabMaster design page using the Window Position menu.
The sidebar can be positioned anywhere on your CabMaster design page using the Docking feature or to conserve space, you can use the Auto Hide feature, discussed briefly here. For a complete discussion, refer to the topic on Docking or Floating  in the Application User Guide.
How do I Dock/Float the Sidebar module?
One way is to use the Windows Position menu and select either the Floating or Docking option.

Default docked RHS - Click to Expand
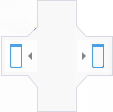
Another way is to use the smart docking markers which allows you to drag the cabinet preview window to a position where you require it to be docked and release.
How do I use the Auto Hide on the SideBar module?
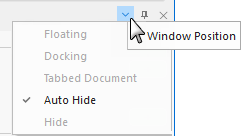
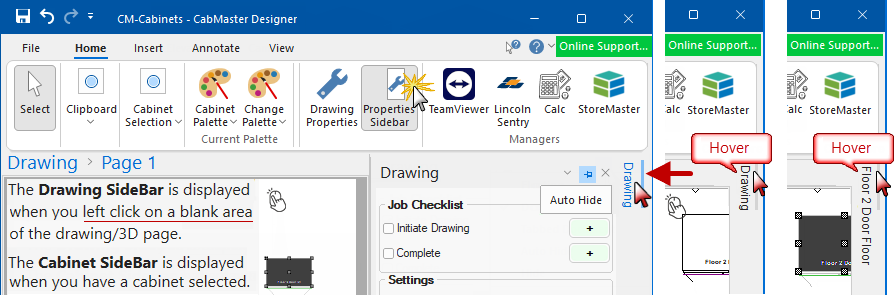
Or simply use click on the Auto Hide  pin icon which will automatically hide the property inspector but creates a reference tab on the left/right side relevant to where property inspector was docked. Click on the Unhide
  pin icon to turn off.
To view contents, hover over the reference tab label, as shown.
The Display > Sidebar Layout page allows you to customise what is displayed by using the Slot drop list. Both the Drawing SideBar and Cabinet Sidebar can be set up, each having four (4) available SideBar Slots modules. The Display > SideBar Customisation page allows you to set up reports.
This topic only discusses the details of the SideBar Slots module drop list options.
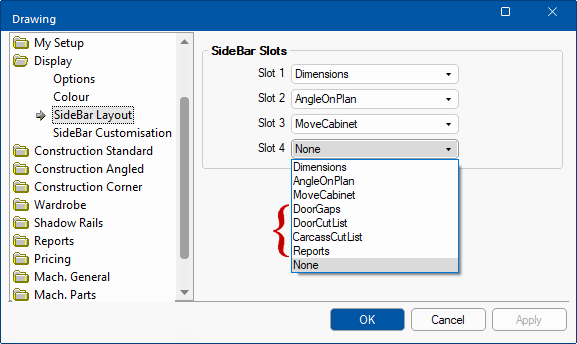
At Drawing level each of these slots can show one of nine (4) different Modules as listed below.
The display for both the Drawing SideBar and Cabinet SideBar can be customised on the Display > Sidebar Layout page.
At Cabinet level each of these slots can show one of nine (9) different Modules as listed below.
Follow the links for a detailed explanation on each of Slot Modules.
The default modules are Dimensions, Angle and MoveCabinet. To change the Cabinet SideBar default, see the topic on Display > Sidebar Layout & Customisation.
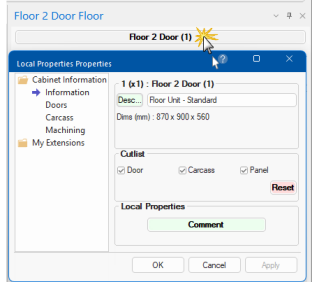
The Cabinet Information button displays the name of the cabinet and the number CabMasterPro has automatically assigned when placed in drawing.
Pressing this button will open the Local Properties for the cabinet which includes Cutlists for the Door, Carcass and Panel.
For a detailed discussions on Local Properties accessed using the Cabinet Information button, see topics on...
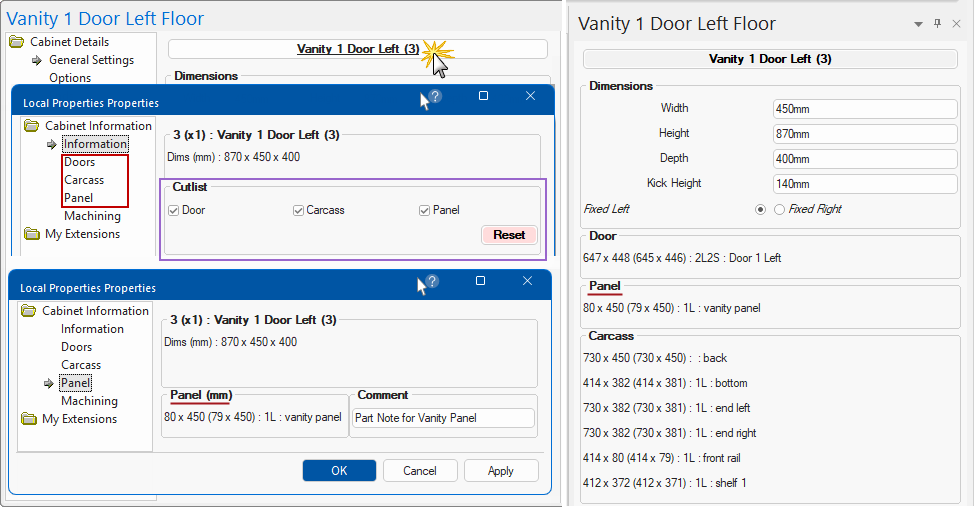
Pressing this button will open the Local Properties for the cabinet/panel which includes Cutlists for Door, Carcass and Panel.
The pages that are made available will depend on if the Cutlist option is turned on and if the Part is used in the construction of the cabinet.
Part Notes are not displayed on the Properties Sidebar but can be view on the Cutlist report if the applicable option on the Reports > Boards page is turned on.
Width, Height, Depth and other stated dimension of cabinet can be customised in the same way as on the Cabinet Details > General Settings page.
Fixed Left or Fixed Right radio buttons allow you to select the Insertion Point in the same way as on the Cabinet Details > Options page of a Floor Standard cabinet, in the Misc group box. (See Example of Angle with Fixed Left and Right, discussed next.)
Example of Insertion Point options
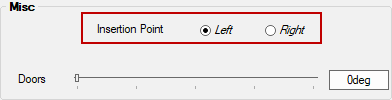
Usually the cabinet is attached via the back Left corner, as you work left to right placing cabinets along a wall. (The back is the reference point where a cabinet is attached to the wall).
Sometimes it is more appropriate to work right to left, and so the Right hand side insertion point can be set for that. (Note that snapping often takes care of you, so you can still work right to left even if the insertion point is on the left).
Some fields may not be editable in all cabinets, however they will show the current value.
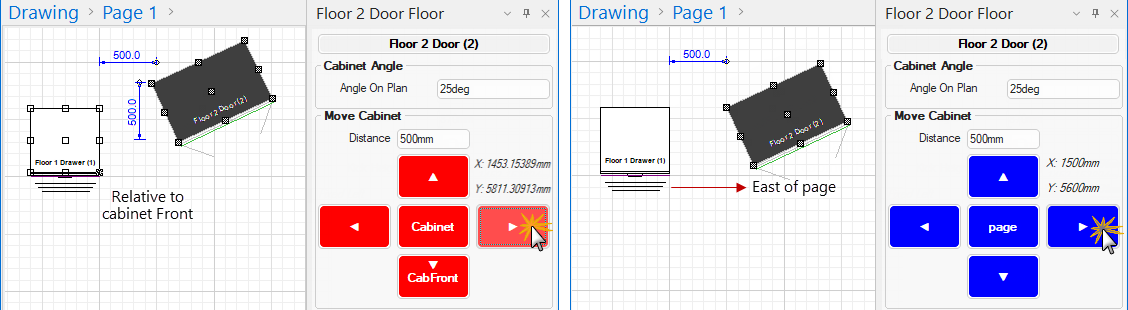
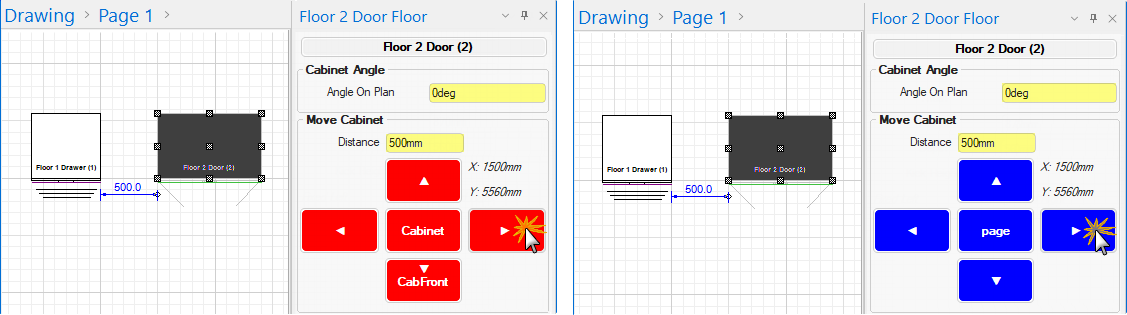
The MoveCabinet module lets you move the selected cabinet by a specific amount and is used in conjunction with the directional arrow Cabinet/Page buttons.
The Cabinet buttons move directionally relative to the Cabinet Front whereas the Page buttons move north, south, east and west relative to page.
The colours of the displayed buttons can be customised on the Display > SideBar Customisation page.

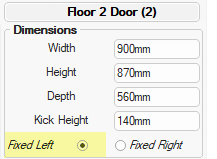
Be aware that the Fixed Left / Right radio button option selected, affects the insertion point.
The effect is seen when moving a cabinet on an angle in Cabinet mode (X,Y coordinates).
For a detailed explanation, see the topic on the Properties SideBar Command Button
In these examples, the Fixed Left option is enabled, which shows the difference between Cabinet mode and Page mode when a cabinet is moved at an angle of 25deg.
Normally, these functions, whether in Cabinet or Page mode, work in the same way as using the Movement commands on the Insert tab of the CabMasterPro ribbon.
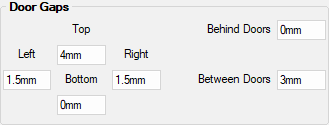
The doors gaps module allows you to edit most cabinets door gaps.
Click to view selection criteria
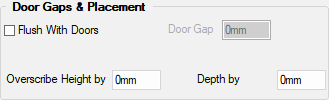
Panels and Fillers can also edit their Overscribes from this Module.
For more on Door, Panel and Filler Gap Options including Overscribes - click here to view
| Options | Explanation |
| Top/Bottom | Gap above/below the doors respectively. |
| Left/Right | Gap to the left/right of the doors respectively. |
| Behind/Between | Gap behind/between the doors respectively. |
| Options | Explanation |
| Flush with Doors | Makes the end panel flush to an adjoining cabinets' door (provided the correct door gap is entered and the default depth is being used). |
| Overscribe Height | Adds extra to the panels cut height. |
| Depth | Overscribes the panels depth. |
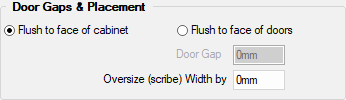
| Options | Explanation |
| Flush to face of cabinet | Makes the filler flush to an adjoining cabinets' door (provided the correct door gap is entered and the default depth is being used). |
| Overscribe Width | Adds extra to the fillers cut width. |
The Door cut list module shows the sizes and edging details of the doors and panels in the cabinet.
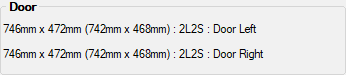
Click to view selection criteria
Edging Codes determines the type of edge labelling that will be used on the reports and are defined on the My Setup > Misc Setup page.
If panels are used in the construction of the cabinet, the Cutlist for Panels will be displayed.
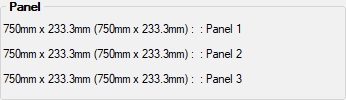
Click to view Vanity cabinet with Panel
These details are the same as the Cabinet Information > Doors page (or Cabinet Information > Panel page - see also My Setup > Cabinet Cutlists.
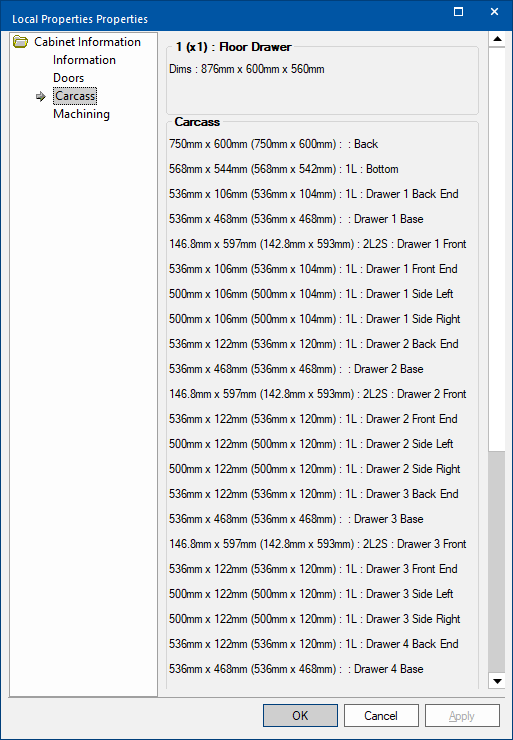
The carcass cut list module allows you to see a preview of the part sizes in the cabinet.
This list may be long and cause a scroll bar to present. See Samples of Carcass Cutlist for examples.
Samples of Carcass Cutlist
This is a sample of the Carcass Cutlist - click on image to view selection criteria.
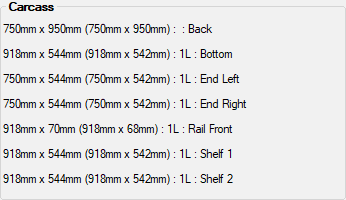
Click to view selection criteria
Pressing the Continued... button will lauch the Local Properties of the selected cabinet, to view full cut list
These details are the same as the Cabinet Information > Carcass page - see also My Setup > Cabinet Cutlists.
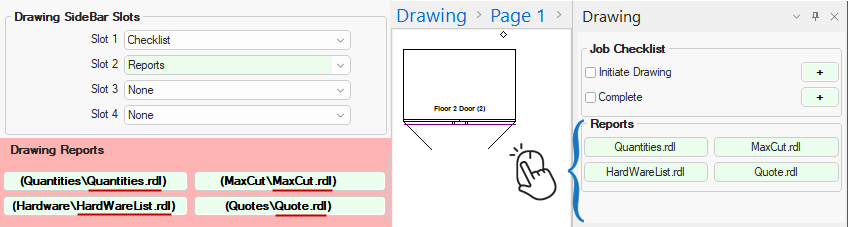
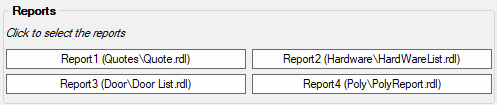
The report module allows to quickly run your selection of frequently accessed reports by cabinet or by drawing, by pressing any of the four (4) customised buttons.
To customise these buttons see the topic on Display > SideBar Customisation page.
This example shows four reports selected in the Catalog Properties using the Browser discussed above i.e. the Report\File Folder\Report file.rdl
These reports can then quickly and easily run from the Drawing SideBar using the corresponding Reports buttons.
This example shows only one report selected in the Catalog Properties using the Browser discussed above i.e. the Report\File Folder\Report file.rdl
This reports can then quickly and easily run from the Cabinet SideBar using the corresponding Reports buttons.
The Cabinet SideBar allows you to run the selected report for either the selected cabinet, using the Cabinet Report radio button, or all cabinets on the drawing, using the Drawing Report radio button, as shown below.